Sunday, April 22, 2012

Turn Over the Pies


My Granny is such a giver.  She told me she was going to cook up a batch of fried peach pies for my aunt, who was visiting from Detroit.  Granny knows how her children and grandchildren feel about those pies, so she knew I would want to learn how to cook them too.  I was so excited to get there to start my lesson.  Unfortunately, Granny had already done some of the prep work to the peaches….
She likes to let them marinate in sugar over night or at least 3-4 hours before making the pies.  Granny filled me in on what I missed when she started on Friday (Granny will soon get a camera so she can document such food emergencies).  Here is what Granny said to do:
Boil the 2 packages of dried peaches in water until they become tender.
Pour off excess water.
Mash the peaches (with a potato masher).
Pour sugar on the peaches and wait….

... So the next day when I got to Granny’s the peaches were ready….
They don’t look so appetizing do they? Well, they don’t smell that appetizing either!  But trust me, that’s good stuff!  Granny and I were ready to make the crust, which is the same recipe she uses for cobblers. I was so excited that I knew which ingredients to get and how to start the dough. 
She poured the flour in the bowl and told me “that’s about 2 cups.”  I insisted that she measure so I could be sure to get it right the next time (don't want any repeats of that thick dough I made last time).  So she poured her flour in the measuring cup (and told me I was working on her nerves)…
Viola!
Needless to say I didn’t ask her to measure out anything else. I can’t wait until I’m that good! Don’t laugh.  It’s gonna happen…one day!
Granny quickly incorporated the Crisco and butter into the flour and salt mixture. She showed me what the dough should look like before adding the icy water.   
This is what it should look like before adding icy water.
  She added the water and started kneading.  What I learned is the secret touch to kneading lies in the wrist.  When Granny was done that dough looked so smooth and silky.  I was thinking that is not what my dough looked like when I made my cherry cobbler (but I didn’t tell Granny that). Granny was a little worried because the dough didn’t feel like she wanted it to feel.  After seeing the bewildered look on my face she said it should feel like silk (I started thinking, my dough didn’t feel like silk, but I didn’t tell Granny that). 
Granny rolled out the dough with a….. ROLLING PIN…not a glass.  She asked if I had gotten one yet.  Nope, I’m going to steal my mom’s.  She hasn’t rolled dough since ….has she ever rolled dough?  I was careful this time to see just how thin the dough needed to be since the last time I tried the dough it was just a wee bit too thick.  

Tortilla thin is what I came up with to give myself some sort of reference
Granny decided she wanted to make these pies a little bigger than she normally makes them (she usually uses a hamburger ring to cut the dough) so she used the lid of a small pot.  
 Once she had a couple of circles pressed out she started spooning on the peaches.  
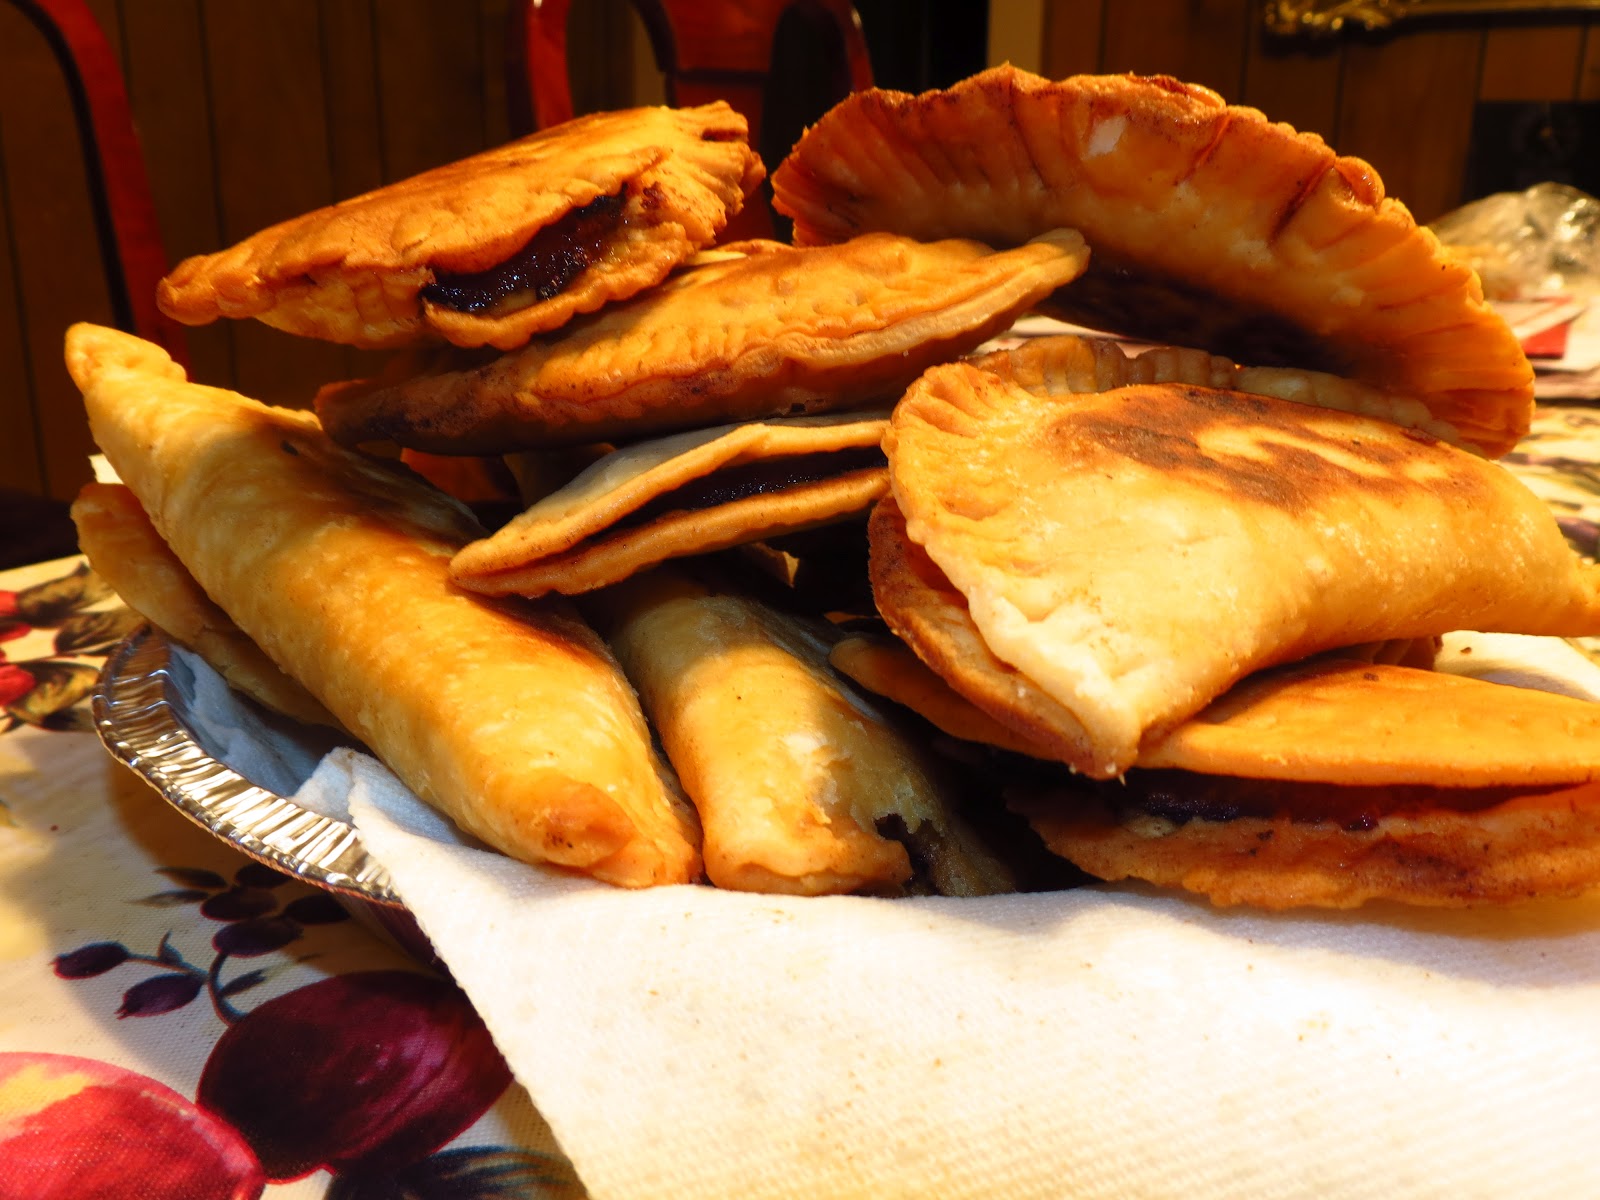
Next she folded the dough over and used a fork to crimp the edges. 
The pies were ready to go into the cast iron skillet. 
I learned when cooking fried pies it’s important to stand vigilant so the pies can be turned over as soon as the first sign of browning appears around the edges.
I figured now was a good a time as any to conquer my fear of frying.  So I approached the skillet armed with a turner and waited for them to start browning.  I started flipping and thought what have I been afraid of all this time?  Granny came over and showed me how to use my hand to turn over the pies a little easier.  That's when I started thinking...I wonder why these aren't called peach turnovers...And then... SON OF A BISCUIT #$%&@!!!!!! (I can’t say those words in front of Granny).  I tried to turn it over like Granny showed me, but my way is much more effective at keeping hot grease off of my fingers!  Good thing I learned that Cool Water song when my school district implemented the Learn Not to Burn Fire Safety Program.  I grabbed the icy water for the dough and put my finger right in. 
 And that is why I HATE frying things!...in addition to the fry smell that is none too pleasant.
After I nursed my wounds it was time for me to show off my new cooking skills!  Granny needed more dough to cook up the next batch of pies.  I told her not to worry I could handle it!  She carefully watched me measure the ingredients.  I don’t know who distracted Granny, but she turned away and my dough well…. 
Guess which dough is mine and which silky smooth ball of dough is Granny’s.
Okay okay…I know it’s quite difficult to tell! For those who are stumped, mine is the one on the left.
Granny was not happy (these pies were for my aunt and Granny was not about to let the above mess out of her kitchen).   
She said she would see if she could salvage my dough. I don’t know what she did besides wave her magic Granny wand over it and look at that, somewhat silky and somewhat smooth!
 Apparently I had a little too much heap to my heaping tablespoons of Crisco. “Trial and Error” is what Granny told me.  I think I may have added to much error to my trial. 
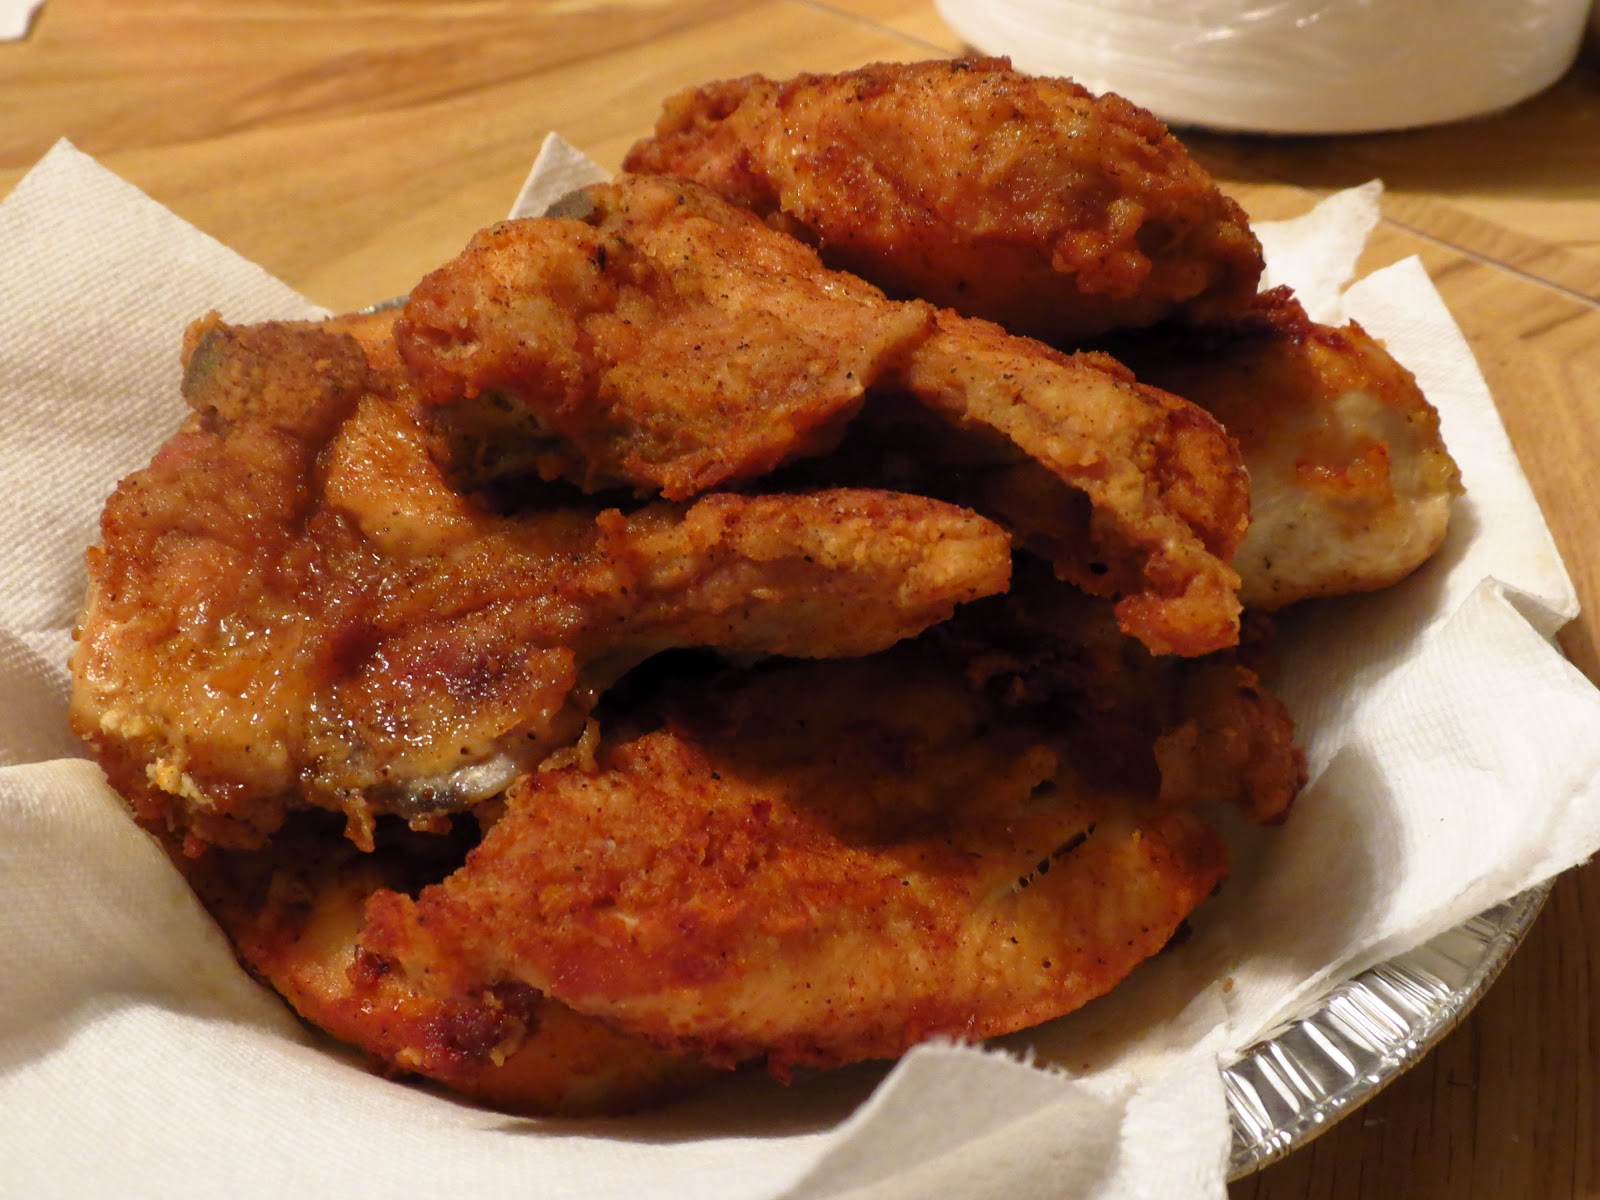
I’m glad Granny was able to save the pies and nobody was able to tell the difference between the ones I made and the ones Granny made (well I could tell because Granny’s were much prettier than mine). Even this lady (who kept stealing pies) couldn’t tell the difference.
My mom stealing another pie!
My mom suggested we make more pies (that we don’t have to give away). She laughed when I told her I would be happy to make her some.  Little did she know I had already cooked some of them. 
Granny said she felt good that she could make the pies for my aunt and make someone else feel good. She smiled as she turned over the pies to my uncle later that evening. See, that’s the heart of a giver!   
I wish being a giver made me feel all warm and ooey, gooey on the inside.

Instead, I think I might have shed a tear watching those pies go out the door.  It just made my heart ache a little to know I wasn’t going to get to enjoy the fruit of my …ahem… our labor.  And that is just another way I’m working to become more like my Granny.

Sunday, April 15, 2012

A Day in the Life of Fried Chicken


As I was chowing down on a piece of it yesterday I tried to recall just when I fell in love with that chicken.
Walk with me for a minute down memory lane[cue harp and fog machine].
Let's go back to the eighties when we packed up Granny & PawPaw’s Oldsmobile and headed to Disney World for the first time. Granny’s fried chicken was breakfast, lunch and dinner for that road trip. 

Keep walking with me to the nineties.  I’m rushing to get out the door for middle school and Granny has me wait a minute or two so I can grab a piece of chicken and a biscuit before I go.

[Cue fog machine] Well, that was a worthless trip, because I still can’t recall when I fell in love with Granny's chicken. All that matters is that I am. 
I’ve tried to make on my own before. I thought I knew how to do it, but I never would have guessed all that went into recreating Granny’s fried chicken (and I’m not just talking about the ingredients).  Click here for a printable version of the recipe.
Here’s what she used (She also usesLawry’s Seasoning Salt and Garlic Powder):
Yep, that really is Spaghetti mix… who knew? (Granny wasn’t keen on sharing her secrets with everyone so don't tell her about this post.)
When the chicken first comes out of the package it should be given a cool shower (since this is a family blog I have omitted pictures of the shower scene).

The chicken then undergoes a little cosmetic surgery, having excess skin removed as well as removing some healthy muscle tissue. ( Granny split 4 chicken breast in half to make 8 pieces)

After surgery the chicken gets dressed a in coat of flour accessorized with a few spices.
Granny filled her cast iron skillet chicken tanning bed with about 1/2" of oil and heated on high.  While it was heating she dressed the chicken in her mixture of:

½ c. self-rising flour
1 tbsp.  spaghetti mix
1 tsp. Italian Salad Dressing Seasoning Mix
½ tsp. black pepper
¼ tsp. paprika
¼ tsp. red pepper
¼ tsp. garlic powder
I learned you can put a pinch of the flour mixture in the skillet to check that the oil is hot enough.  

When the pinch of flour sizzles and fries the oil is ready and you can carefully add in the chicken. The flour mixture was just enough to coat the 8 pieces.
Once the chicken is in the skillet tanning bed. Granny sprinkled each piece generously with Lawry's Seasoning Salt. She then reduced the heat to medium and covered.  After about 10-15 minutes Granny had me check the edges of the chicken to see if they were browning.  When we discovered they were, we flipped the chicken over so the other side could begin to brown.
We sprinkled seasoning salt on that side and covered again.  10 minutes later we flipped the chicken one more time just to make it pretty! (I guess that's why...)


Now that's the color we want (think Snooki's tan). 
Granny mentioned the seasoning salt helping the chicken to brown, so that could have something to do with it getting flipped and covered again. See isn't that pretty?
In the meantime, Granny reads the paper and I wait with mouth watering....
Finally Granny says "Well, it sounds like it's ready!" Although I'm really ready to eat it now, I can't help but ask "Sounds like?"  Granny explains to me it's something I'll learn from experience, but I just have to listen to the sound of the frying. ... I'm working on it!
Well, now it looks like it's time to eat! ...
But not yet!
The chicken spends a few minutes in this pan lined with paper towels so some of the oil is absorbed, while Granny pours the remaining oil out of the skillet.  She then puts all the chicken back in the skillet and covers it (no heat).  Apparently the chicken is so exhausted from it's busy day that it now has to get some rest.
Who has ever heard that chicken resting before you eat it? Something about the flavors mingling and mixing, yada yada yada...

When the chicken had finally gotten its rest, it showcased its new look to its platemates, crinkle cut fries and toast.  (I was trying to recreate a Zaxby’s meal, but the Zax Sauce recipe I was so excited to find on Pinterest didn’t even taste remotely similar to the real stuff). 
There is no picture because I was so excited to eat that I couldn’t pause for 3 seconds to pick up my camera. And I'm aware of just what that says about me... and I don't care!

For a printable version of Granny's Fried Chicken click here.

 Instead, here is a picture of my mom’s plate who opted to have molasses with her chicken. 
I tried her chicken and molasses to see if it was something I could grow to love.  I’ll just say that when it comes to Granny’s fried chicken, I don’t need molasses, ketchup, barbeque sauce, fries, or toast just the chicken is good enough. 

Wednesday, April 4, 2012

Cherry Cobbler


I've always had a goal of being able to cook like my Granny. My Granny has always had a goal to cook like her mother. In the past, I’ve made a few attempts at some of my Granny’s recipes.  I say attempts because when Granny cooks she rarely follows a recipe.  I, on the other hand, NEED a recipe or I end up with quite the mess (sometimes it’s a mess with a recipe).  

When I showed up at Granny’s this past Saturday she was just getting prepped to make a cherry cobbler. Yippers! It’s both of our favorites! Granny said I could have at it, but I knew this was one mess I was not willing to make …Granny doesn’t make cherry cobbler often, so I could only imagine the family's disappointment if I screwed it up.  What I was willing to do was grab my camera (okay so it was my Mom’s) and take pictures of each step of the process + I take a few notes. I could try it later when nobody was watching. 

A note about Granny's cobblers: 
When I said cobbler you probably had visions of fruit topped off by flaky biscuits dancing in your head. ...Well that's not so with Granny's cobblers.  Think of them as fruit swaddled in golden, flaky blanket of crusty goodness.  I don't know if it's a regional or cultural thing to make cobblers this way, but trust me, it's the best way! She usually uses fresh fruit, but since cherries aren't in season yet she opted for the fresh from the can variety.
So here is what we Granny did:
. 
Gather up the above ingredients. (Although margarine is shown here Granny actually used salted butter.)

Next add the cherries, butter and about a cup to 2 cups of sugar (Granny says just enough sugar to make them sweet, so adjust as needed) to a sauce pan and heat over medium heat until the sugar and butter are melted.

  cherry soup


While the cherries are being morphed into a figure friendly cherry soup, begin the crust by adding 2 cups of flour, ½ tsp. of salt, 1 1/2  tbsp. of butter, and 2 tbsp. of Crisco to a large bowl. Did I mention she didn't measure any of this.  She just "eyed" it. She also told me this would probably be the worst cobbler she ever made since I kept stopping her to take pictures.

And start the kneading. Once the dough is a crumbly mixture begin adding icy water a little teaspoon at a time until the dough reaches the right consistency.  Granny says it should be "rubbery."  It shouldn't be so sticky and wet that it sticks to the rolling pin, nor should it be too hard.  Dust the work surface with flour then, roll it so it begins to resemble a nice little blanket of dough. 
Don't stop rolling... I did when I tried to make the cobbler a few days later and my crust was... doughy and thick.  When I called Granny to see where I went wrong, She said I didn't roll it thin enough and it would probably help if I would buy a rolling pin (I used a big drinking glass).  ....Oops, I'll have to try again!
When it's thin enough it will make a nice lining for the dish like so:

 Spoon in about half of the cherry soup.  Granny added a few dumpling she saved from the dough before adding the remaining cherries.   She swaddled it all up and put it in the oven at 425° for approximately 20 minutes or until crust is golden brown. 

Once the cobbler is nice and golden and bubbly and smelling like the stuff dreams are made of, remove it from the oven and brush the crust with a little butter. 
Of course, you can spoon some out and eat it as is, but why would you do that when you can have it with a scoop of Vanilla ice cream? So that's what we (and I can say we at this point) did!
 Granny admitted that this was one of the best pie crust she had ever made.  I told her she should thank me for documenting the process so she can do it again ....soon!

CLICK HERE for a printable version of Granny's Cherry Cobbler recipe.