
Walk with me for a minute down memory lane[cue harp and fog machine].
Let's go back to the eighties when we packed up Granny &
PawPaw’s Oldsmobile and headed to Disney World for the first time. Granny’s
fried chicken was breakfast, lunch and dinner for that road trip.


Keep walking with me to the nineties. I’m rushing to get out the door for middle school and Granny has me wait a minute or two so I can grab a piece of chicken and a biscuit before I go.

I’ve tried to make on my own before. I thought I knew how to
do it, but I never would have guessed all that went into recreating Granny’s
fried chicken (and I’m not just talking about the ingredients). Click here for a printable version of the recipe.
Here’s what she used (She also usesLawry’s Seasoning Salt and
Garlic Powder):

Yep, that really is Spaghetti mix… who knew? (Granny wasn’t
keen on sharing her secrets with everyone so don't tell her about this post.)
When the chicken first comes out of the package it should be given a cool shower (since this is a family blog I have omitted pictures of the shower scene).
The chicken then undergoes a little cosmetic surgery, having excess skin removed as well as removing some healthy muscle tissue. ( Granny split 4 chicken breast in half to make 8 pieces)
After surgery the chicken gets dressed a in coat of flour accessorized with a few spices.

½ c. self-rising flour
1 tbsp. spaghetti mix
1 tsp. Italian Salad Dressing Seasoning Mix
½ tsp. black pepper
¼ tsp. paprika
¼ tsp. red pepper
¼ tsp. garlic powder
I learned you can put a pinch of the flour mixture in the skillet to check that the oil is hot enough.


Now that's the color we want (think Snooki's tan).
Granny mentioned the seasoning salt helping the chicken to brown, so
that could have something to do with it getting flipped and covered again. See isn't that pretty?In the meantime, Granny reads the paper and I wait with mouth watering....

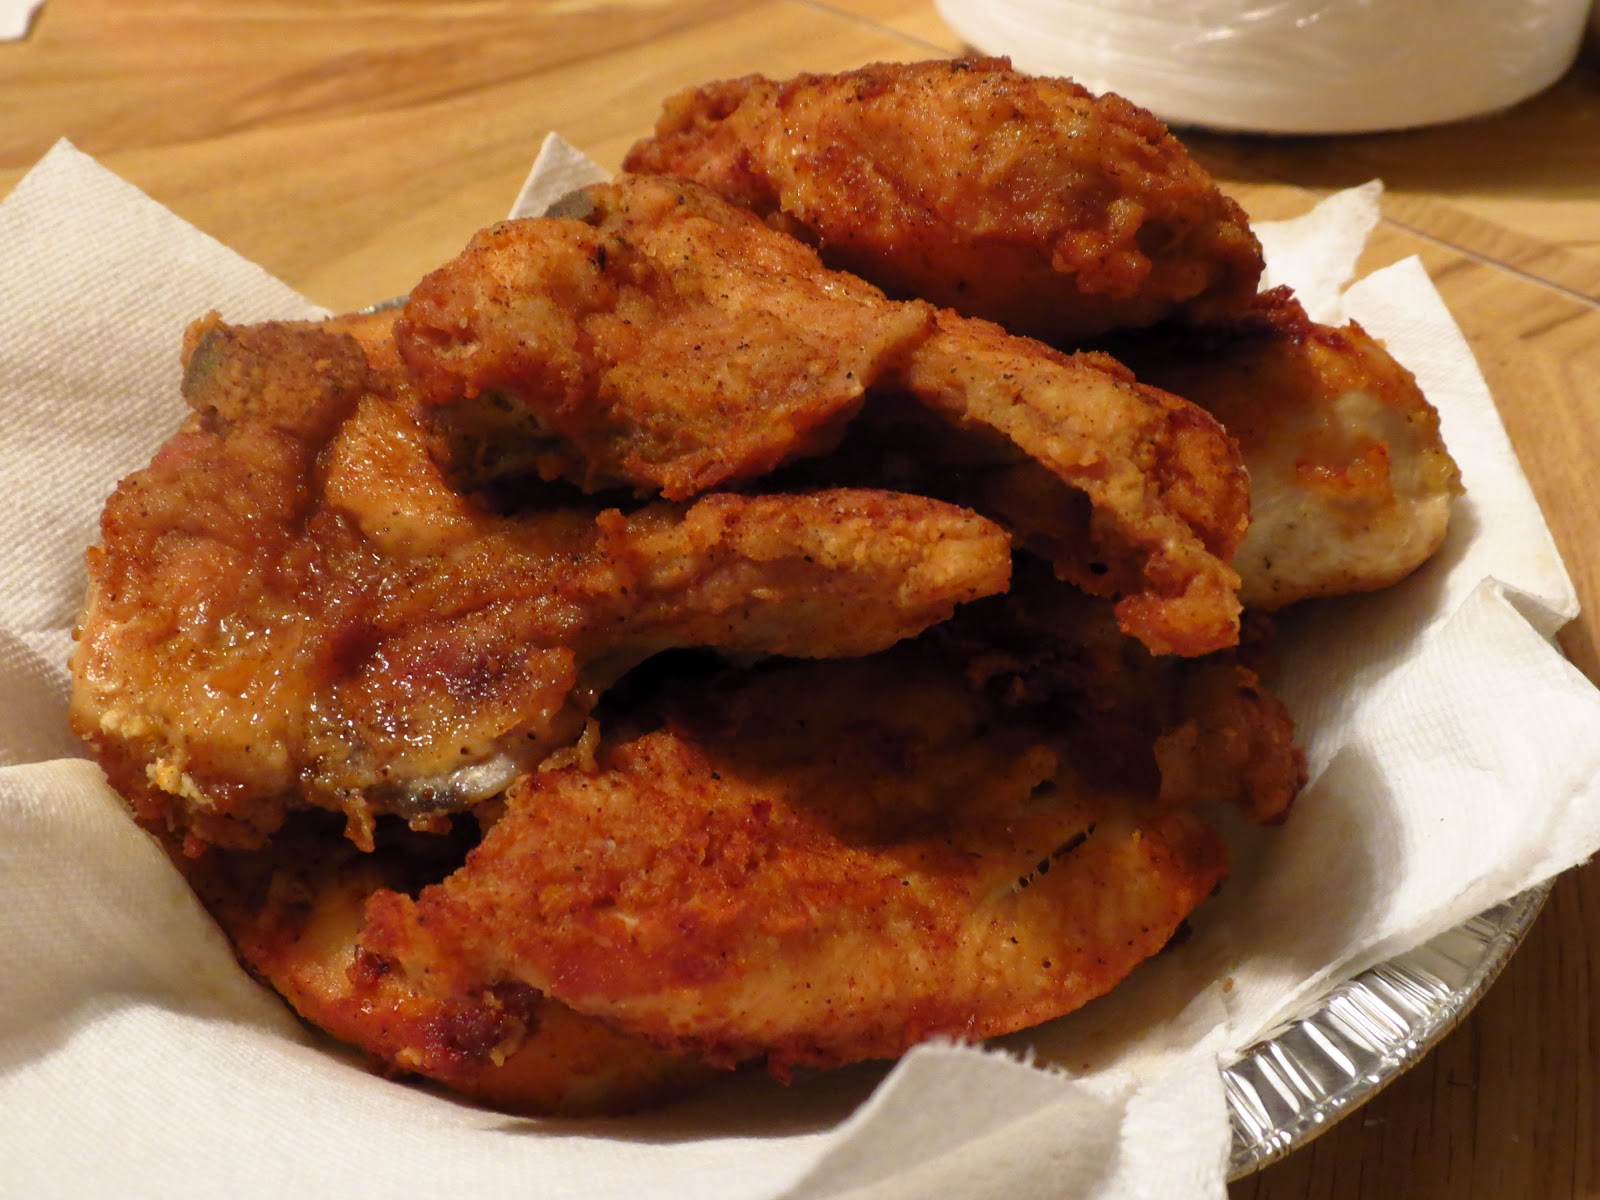
Well, now it looks like it's time to eat! ...
But not yet!
The chicken spends a few minutes in this pan lined with paper towels so some of the oil is absorbed, while Granny pours the remaining oil out of the skillet. She then puts all the chicken back in the skillet and covers it (no heat). Apparently the chicken is so exhausted from it's busy day that it now has to get some rest.

When the chicken had finally gotten its rest, it showcased its new look to its platemates, crinkle cut fries and toast. (I was
trying to recreate a Zaxby’s meal, but the Zax Sauce recipe I was so excited to
find on Pinterest didn’t even taste
remotely similar to the real stuff).
There is no picture because I was so excited to eat that I
couldn’t pause for 3 seconds to pick up my camera. And I'm aware of just what that says about me... and I don't care!
For a printable version of Granny's Fried Chicken click here.
For a printable version of Granny's Fried Chicken click here.

Instead, here is a picture of my mom’s plate
who opted to have molasses with her chicken.
I tried her chicken and molasses to see if it was something I
could grow to love. I’ll just say that
when it comes to Granny’s fried chicken, I don’t need molasses, ketchup,
barbeque sauce, fries, or toast just the chicken is good enough.

Sooooo, when are you picking me up to come have chicken with you and Granny?!?!?
ReplyDeleteOMG! that looks so good! And I love that she let's you take all those pics of her....her reading the paper while she listens is awesome!
Are you still scrapbooking? Is there a page dedicated to the chicken? There should be!!!
We need to see each other!
(Bring chicken...hee heee)
Staci
Going Nutty!
misssquirrels@yahoo.com
First of all, I do hope you are scrapbooking these - they are just too terrific to stay online!!
ReplyDeleteSecondly - wait - according to you, "I’m rushing to get out the door for middle school and Granny has me wait a minute or two so I can grab a piece of chicken and a biscuit before I go." Um, I never saw chicken for your teacher?!! I have to go now and find your permanent record and make some revisions!!;)
I love this blog and can't wait until the next installment!!